We’ve put together a fantastic article that makes taking a video selfie simple and fun.
Contents
If you’ve never made a selfie video before, here are some tips and tricks that you can use to make it really look good.
Creating Your Video
Before filming your selfie video, it’s important to think about where you are planning on sharing it. If you are just going to message it to a friend, then shooting it vertically (portrait mode) on your phone or tablet is fine, but if you are going to share it on social media, you’ll want to consider the size of video that works best. For YouTube, you’ll want to record with your phone or table in horizontally (landscape mode). If you are going to share your video on Instagram, then filming in portrait mode may be your best choice. Another thing you’ll want to consider that will help determine if you should shoot your video in portrait or landscape is if you are wanting to get more of your surroundings in the video or more of you. Landscape mode captures a lot more of your surrounding while portrait captures more of you.
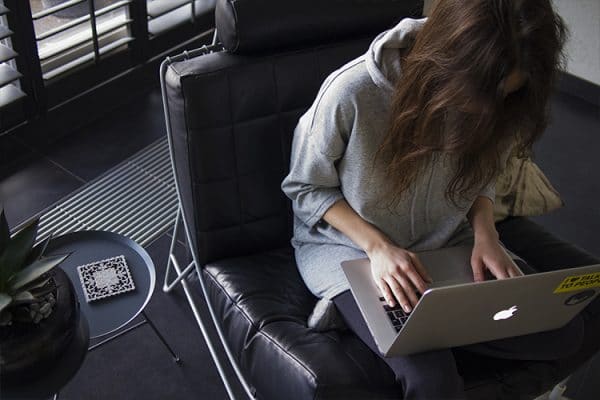
Using an Alternative Method – Webcam on a Desktop or Laptop Computer

Many computers, both laptops and desktops alike, now come with built in webcams. Webcams can be a great alternative to handheld devices since they provide a stable recording platform. With webcams you tend to get a lot less shaking than with a smartphone. One downside of filming with a webcam is that it a lot more difficult to move your camera in a smooth motion. If you are just going to be filming your face and don’t need to constantly move the camera, then a webcam can work great.
Make Sure You Have Good Lighting
It’s important to consider where you are going to be making your selfie video. If you are going to do it outside, then natural light can be a big plus. The best time of day to film outside is in the morning while the sun is still coming up, or in the evening when the sun starts to go down. This type of sunlight acts a type of diffused light that will give your video a soft and warm look.
If you are planning on filming indoors, be sure that you have plenty of light. It can help to record near a window that lets in natural sunlight. If sunlight isn’t an option, try positioning some lighting around the area that you will be filming. LED lights are inexpensive and are great for this purpose since they come in so many shapes and sizes and don’t produce a lot of heat. If you need some extra light but aren’t able to go out and purchase anything, try brining in some lamps or other lights from around the house. Try positioning them in different locations and different heights throughout the room to see what looks most flattering for you.
Pay Attention to Your Background & Surroundings
Be sure to take a look at what is behind you before recording your video. You don’t want anyone photo bombing…or rather, video bombing your selfie video. A good background for your video depends on what kind of feeling you want to get across. You may want a lush green garden or a cityscape full of bright lights. You may want the ocean beach or a scenic backdrop of a hill or mountain. It may just be in your bedroom or at the mall. Whatever background you decide to go with, it’s always a good idea to do some test recordings to see what looks good before you start to shoot your actual video.
What Kind of Sounds & Noises are Around You?
Nobody likes to hear a barking dog or a baby crying in the background of a video, but we don’t always pay attention to that before we start recording. Take a minute to see if there are any annoying or repetitive sounds where you want to record. Be sure to think about traffic noise, fan noise and heater or air conditioners running in the background. This can really detract from your videos. You want to make sure that if there is any noise at all that it’s not too loud and that it won’t take away from your video. As close to silence as you can get, sometimes works the best.
Think About What You Are Wearing
Sometimes we forget to stop and think about what type of clothes we have on and whether or not they look good in the location where we are going to shoot our video. Be sure that your cloths don’t blend in too much with your background. You also don’t want your clothes to be so crazy that people watching your video can’t help but focus on that instead of your face.
Positioning Your Camera
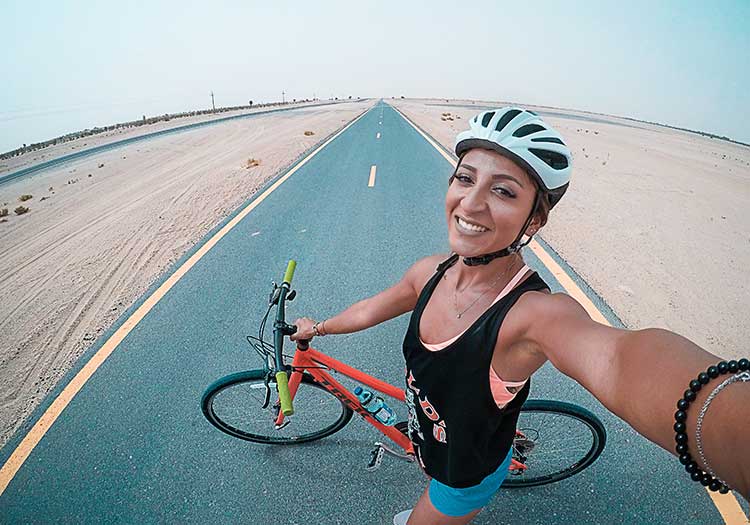
We all have different angles that make us look our best. Most people don’t look good from lower angles, so don’t hold or position your camera too low. When deciding how to place yourself, keep your camera level with your face so you’re not looking too far up or down. Don’t stand too far away, because selfies are typically from the chest or neck up. Selfies are meant to be natural, like the camera is a person looking directly at you. Weird angles and positioning are a bit awkward to look at, so just be natural! If you do plan on creating a silly video though, go ahead and experiment with different angles.
Editing & Sharing Your Selfie Video
Many apps and software programs allow you to share a video directly to your social media. You don’t have to worry about format with this option, so some of the information below may be irrelevant. If you plan on sharing a video to multiple platforms, remember to keep your audience in mind. For example, if your Facebook is for more professional posts, a video selfie wouldn’t fit in.
Edit on Your Phone or Tablet
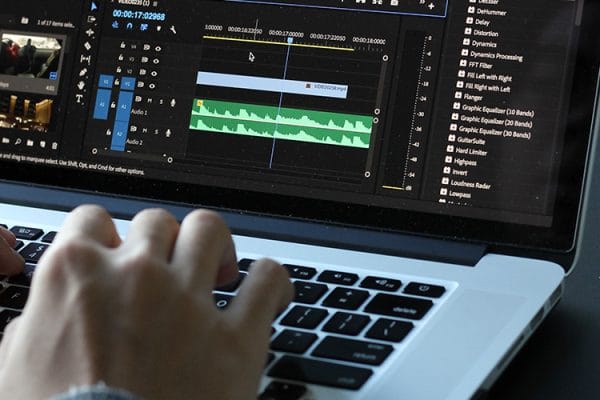
Editing photos and video used to be done by computer. If you don’t have a computer though, don’t worry! We now have the ability to edit videos directly from our phones. There are dozens of apps that exist just to make your selfies look better. Several companies that originally created desktop editing software have created apps as well.
You don’t have to worry about prices either, because there are plenty of free options available. If you do decide to edit on a computer, there are free options for that too. You can pay for a program to ensure high quality editing but try searching the internet to see if there a cheaper alternative that provides the same content to you.
Apps & Software You Can Use
There are tons of apps and programs out there that can help you. Below is a list of apps recommended by reviewers across the internet. Every single one of these programs are free, so if you want to download a bunch of them, you can. A few of them provide total editing, but some of them specialize in a certain type (i.e., timelapse videos).
- Adobe Premiere (Windows, Mac, Linux, iOS, and Android)
- Magisto (iOS and Android)
- Hyperlapse (iOS)
- InShot (iOS and Android)
- Splice (iOS)
- PowerDirector (Android, Windows)
- Blender (Windows, Mac, Linux)
- Lightworks (Windows, Mac, Linux)
- VideoShow (iOS and Android)
Adding Text to Your Video
Some of the programs above allow you to add text while editing, but if you want an app that only adds the text, check out Vont. With this app, you can add any text you want, with tons of different fonts available. This app is free on the App Store.
When you add text to your video, position it in the screen so it doesn’t cover you up. Viewers want to be able to see your face as well as the words. If there is a busy background or a lot of motion, use fonts that have an outline. This helps create a contrast between the words and the picture.
Saving Your Videos in the Correct Format for Social Media

Taking a video and posting it may seem simple, but sometimes you have to change the format. Usually, you can take a video on your phone and then post it without having to worry about the format. If you are exporting a selfie video, most social media sites use MO4 or MP4. There is a file size limit, but you only have to worry about this if the video is really long, or you have done a lot of editing. Because social media is very popular, most editing programs allow you to save a video that works for social media.
Each social media platform has different aspect ratios. Below are the ratios that you should format your videos to for different sites. For example, YouTube videos have a 16:9 ratio, but Facebook and Instagram allow 1:1 ratios, making for square videos.
Posting Your Selfie Video to Social Media Sites
From here, it’s completely up to you on where you want to post! The main places to share your video selfie include YouTube, Facebook, Twitter, and Instagram, but other sites work just as well. Whatever you do, make sure that it fits the screen for the given site. You worked hard to create a selfie video that looks perfect, now make sure that viewers can see all of it!