
Doing headshot photography for businesses pays pretty well and most of the time the sessions are going to be very similar to each other.
Businesses like to have professional headshots taken every year or so to be used on their websites and marketing materials, as well as in house directories.
By hiring a headshot professional, not only can they use the photos for in house use, but some opt to let employees use them for their business-related social media profiles.
The video below goes over everything you need for fantastic photo shoot:
While it’s not too difficult of a job, being prepared ahead of time is going to make the shoot go much smoother and make your job that much easier and stress-free.
With corporate photography, you are usually having to shoot a lot of people in a fairly short amount of time, so you will want to make sure you are efficient as well as keeping the shots consistent in the way that they look.
I’ll explain how to prepare ahead of time so you will be as organized and efficient as possible.
So how exactly do you take good corporate headshots?
Contents
1. Ask Questions Prior to the Shoot
It’s a good idea to speak with the person in charge of setting up the photo shoot for the business ahead of time and ask them if they have a preference on the background that is used for the shots.
Sometimes they already have something in mind for the background or the location, and if this is the case, you will want to take a look at it first so you can prepare for lighting, reflections, etc., as well as point out anything to them that may or may not work well for the shoot.
If you’re not able to look at it yourself, ask them to snap a photo with their phone and send it to you.
This step can save you from having to bring a lot of extra equipment with you.
2. Pick a Background Ahead of Time
Sometimes customers will want to use a colored background, like the color of their logo or similar.
If they are adamant about that, then go ahead and do it, otherwise try discussing a solid, muted color.
You may want to bring some sample images with you, showing them what different backgrounds look like with corporate headshots.
Solid and muted colors usually work best.
Black backgrounds tend to be too dramatic.
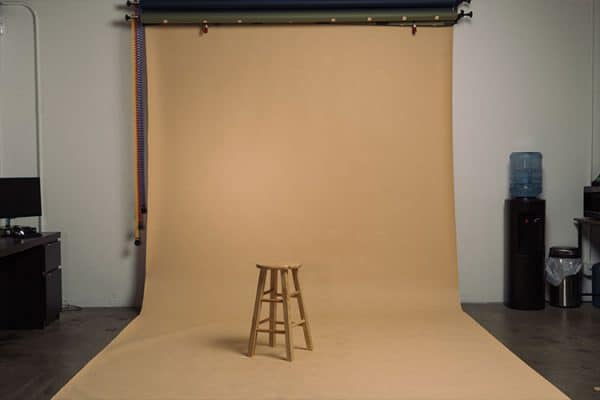
I prefer a solid white background.
If they don’t have anything in mind, using a plain white background is usually a good way to go.
It looks clean and is very simple to work with.
Another option is, you may be able to use a clean white wall at the location where you will be shooting, or you can bring a portable backdrop with you.
You can use some inexpensive backdrops online like these:
Ultra-portable Backdrop: See on Amazon
Standard Size Backdrop: See on Amazon
Be sure to use a background that’s not too busy.
When taking corporate headshots, a solid color background is always a safe bet.
I personally think white looks the best.
Even if the business has decided on a colored or busy background, bring a backup backdrop with you.
You can take a few shots using the background that they want and then a few using a white background or grey background and show them the difference so they can make a final decision before you do the entire shoot.
Sometimes businesses will want to use a wall in their office that has a nice bookcase on it or a spot with some nice art or glass.
This can get tricky.
As long as you can make the lighting work and not get too many reflections, and make sure it’s not so bright and busy that it will draw attention away from the subject, then go for it.
Just plan for your setup time to take a little longer.
If you are shooting outside, mother nature can offer some nice backgrounds as well.
Just be sure to select a background that doesn’t have too much going on.
You don’t want the background to steal attention away from your subjects. Nice, soft greenery can work well.
Be sure to keep the landscape a bit out of focus by zooming in as much as possible with your lens and using a low f stop.
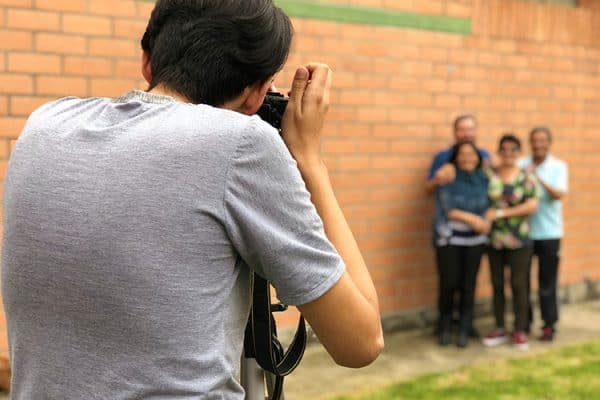
Sometimes clients want part of their building to be in the background.
If this is the case, try to find a nice brick wall or an unobstructed view of part of the building that provides a nice background as well as plenty of room for shooting and lights if needed.

3. Use a Soft Light Setup
Getting the lighting right is the single most important thing to remember.
Too much light and you risk overexposure, too little and you’ve got an anonymous witness on the 11 o’clock news.
That may be an exaggeration, but it is an issue.
Choosing the right type of lighting depends mostly on your environment.
Say you are shooting in a room with cheap fluorescent lighting that is flooding the space. If you are able to turn those off that’s the best option, if not, you’ll have to make due and make some lighting adjustments.
It’s a good idea to bring either a secondary soft light source or a reflector with you.
With these items, you can usually adapt and overcome many lighting issues.
Softbox lights or reflective umbrellas with soft light material on them are the way to go for portrait shoots.
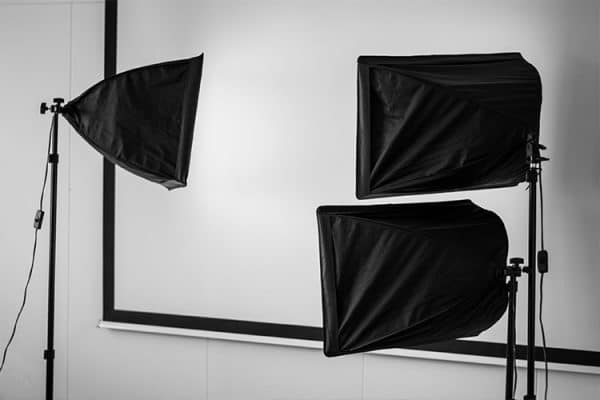
A softbox is a light source that traps light inside its walls, then filters it through a special material.
This material disperses the light emitting a soft glow.
Due to the softness of the light, softboxes can be used in almost any setting.
Big spaces, tiny spaces, and even outdoors.
What makes softboxes the best option is that it is very versatile.
These compact light sources can go anywhere and be used at a moment’s notice.
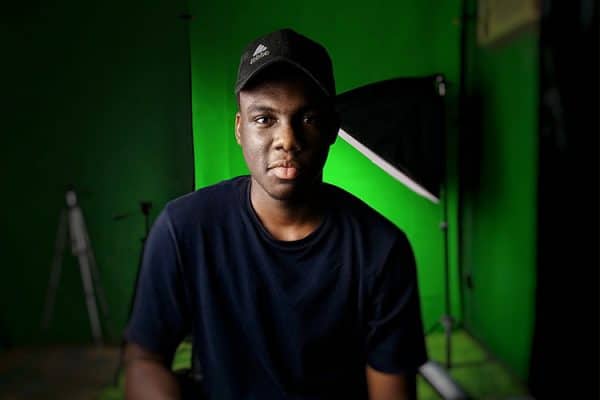
Another thing to do that’s optional, but really creates a good silhouette of your subjects is to light your background.
A simple LED or CFL spot that can shine from a low spot up onto your background will work great.
It’s a good idea, if possible when purchasing lighting to get lights that allow you to adjust the brightness.
This will give you a lot of flexibility.
*If you are Shooting Outdoors
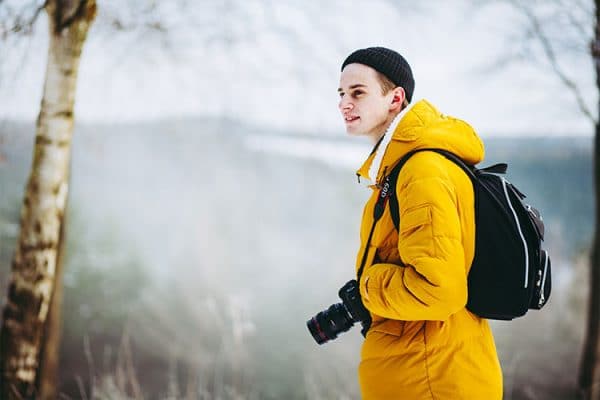
There is only one light source that is far superior to any bulb ever made.
The sun!
Yes, that glowing orange ball in the sky makes for the optimal light source in photography.
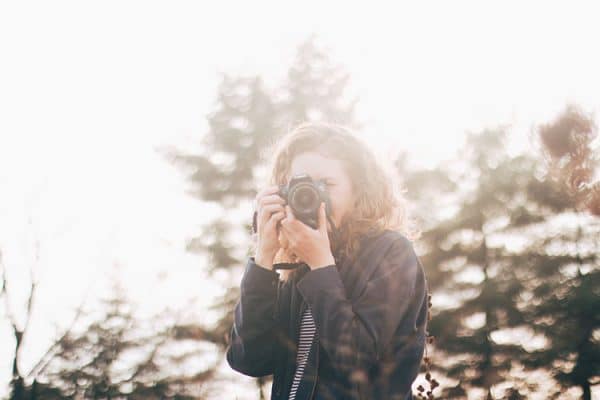
If you are shooting outside you will want to make the most of the sunlight.
Natural light will always make a subject look their best when compared to artificial lamps.
No matter the complexion, the skin often glows when basked in sunlight.
Shooting in the mid-morning hours or late afternoon tends to give you the best light.
Before you go snapping away, you have to understand positioning relative to the light.
Using sunlight has one major drawback; you cannot control its movement.
Instead, you must manipulate your setup in order to get the best use out of those glorious rays.
Think of the sun just as you would studio lighting.
You want to position everything the same way.
Have the sun be roughly 45-degrees to the left of your subject.
If the sunlight comes from behind, it’ll flood too much light into the camera giving you severely overexposed images.
If, however, sunlight is not an option, you must rely on artificial light.
Softboxes and reflectors are the way to go.
Lamps and umbrellas will also work.
4. Positioning Your Camera, Background, Lighting and Camera Settings
You always want to shoot your portraits from a position directly in front of your background.
You want to be shooting from close to the same height as the people you are photographing.
Shooting from slightly above is fine, but if the person you are photographing is quite a bit taller than you, you’ll want to have a step stool ready.
You will want to stand at a distance where you can use quite a bit of zoom from your camera to get close to the subject and frame in their upper body and face.
Adjust the ISO on your camera so that it works well with your lighting.
Start with the lowest setting and work your way up.
If possible bring a friend with you or see if someone in the office will volunteer to help you with fine-tuning things before the shoot.
This way you can test some test shots and adjust your lighting and ISO to get it just right.

Once this is set up properly, you shouldn’t have to touch it again for the rest of the shoot.
In fact, it’s a good idea if you don’t adjust any of it during the shoot so you can maintain the consistency of your photos.
Set up your backdrop and the spotlight for it first.
Then position your light source at a 45-degree angle to the left of your subject (their left, your right) of where they will be standing.
Position your second light source at a similar angle on the opposite side.
We want to get a little less light from this one that the other one, so either move it back a little more or dim it.
If you are using a reflector instead of a second light, the position it as close as you can to the subject (around 3 feet away or so) so that it’s not in the shot, but it provides a good balance in lighting to their face.
This is where it’s really helpful to have someone helping you out by standing in as a test subject.
Use typical portrait photography camera settings:
ISO – low around 100
Aperture – around f/1.4
Shutter Speed – adjust until you get a center reading
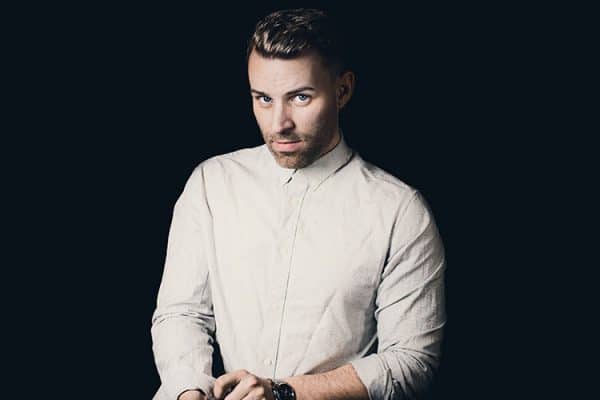
5. Posing Tips for Corporate Headshots

First of all, even though your time spent with each subject is going to be quick, you want to try and be personable.
This connection will show through in their posture and facial expressions. For the subject, a corporate headshot can be boring.
When they are comfortable and relaxed, odds are you will end up with more usable shots.
It’s best to remember that subtlety can go a long way.
The slight turn of the shoulder or lift of the chin can give the photos a dimension that would otherwise be missed in a portrait.
If they will be standing, have them position themselves with their right foot slightly forward, their torso turned slightly to the left and lean just a tiny bit towards the camera.
Have the subject position their head toward the camera and have them extend their neck just a little bit, being sure their chin is not angled to the ground or up towards the ceiling.
Extending their neck tends to get rid of double chins.
You can do the same thing if the user is sitting.
Just tell them to position their legs so they are pointing towards the light on their left.
Everything else remains the same.
As with posing, facial expressions are also a matter of feeling natural.
However, a client’s facial expression is often dependant on how comfortable you’ve made them feel or how well you are able to connect.
If you are distant and cold, the sitter may naturally take on a plain boring expression.
While facial expressions are best when natural, it would be ideal to remind the client of the following tips:
Don’t smile too hard.
Don’t be afraid to instruct the subject to relax their cheeks.
A nice inhale-exhale moment will do the trick.
Remember, natural smiles appear when a person is laughing, so it’s ok to use a little humor.
Serious looks are ok, just make sure they don’t look angry.
Calm, soft, relaxed expression = personable and easy to work with.
Never forget that the subject will feed off of the photographer. Want good images? Create a good environment.
What if you have a blinker?
Blinkers are the ones that seem to close their eyes every time they hear the shutter.
Here’s a trick.
Have them close their eyes then count down 3-2-1 have them open their eyes on 1 and wait for their eyes to go from big just after they open and back to normal, then take the shot.
6. Let Your Subjects Pick Their Favorite Shot
Ask the subject to do a serious shot, a smile shot and any other expressions they want, then let them look at the shots and choose the ones they like best.
This saves a ton of time as well as having to come back to do a reshoot for that person.
You will know right then and there that you got a good picture of them that they like.
You can bring a laptop with you and tether your camera to it so you can show the person all of the shots you got of them on a nice large screen.
When they choose the shot or shots they like you can save those to a folder and have a nice file with all of the corporate headshots that each individual likes.
If you need to move quickly and don’t have the time to sit with them or to connect your computer, then you can go through the images with them on your cameras LCD screen.
Once they have picked out the images that they like, have them write their full name and the shot numbers they like on a piece of paper and hold it up so you can take one last shot of them.
This will be very helpful for you when sorting them out later on.
Recap:
- Ask Questions About and/or view Location Prior to Shoot
- Select Background ahead of time (white is recommended)
- Lighting – Use 1 to 2 soft lights, a reflector and a spot for the backdrop
- Position your Camera, Light, and Background with your Test Subject
- Mark the location on the ground with tape for where your subjects should stand
- Let the subject pick their favorite shot(s)
Related Questions

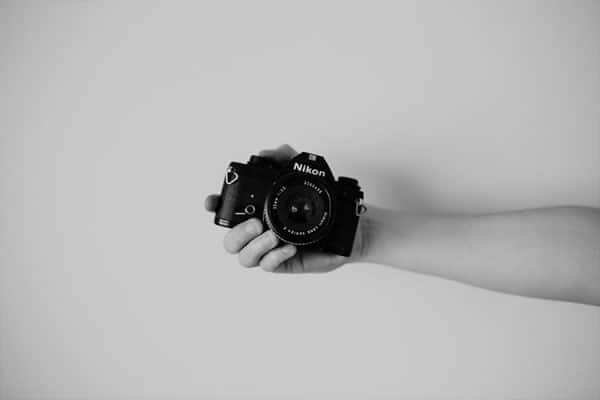
Does the type of camera I use matter?
Yes.
Different cameras have different components that work best for different situations.
With headshots, a good choice is a DSLR camera equipped with a focal length lens and possibly a crop sensor.
All is present within the Canon EOS 80D but shop around. You may find cheaper options.
How do I position a softbox?
Depending on the brightness of your light, you’ll want to start off with your softbox roughly 4 feet away from your subject and then move closer or further depending on your result.
Softboxes usually work best when they are up close.
You can try moving the box as close to the subject as possible without it being an obstruction or invasive.
What if I don’t have creative control?
Most times you won’t have those liberties and you probably wouldn’t have enough time to utilize them if you did.
Keep it simple.
Get the subject in position, help them relax and shoot.
You don’t need to be too creative for corporate headshots.
Companies usually just want clean and consistent shots.