If you’ve been shooting street photography for awhile, or you’re just getting to know this classic style, one of the common questions beginners ask is whether shooting in auto or manual focus mode is better for street photography.
So what’s better for catching those gallery-worthy street photos, auto or manual focus mode? While there are specific situations it’s better to shoot in one mode over the other, in general, it’s better for beginners to shoot street photography in auto focus mode. As you get to know your camera better or if you’re shooting at night, moving to manual mode can help you fine-tune your street photography technique.
Before we go into the specifics of when to use auto and manual focus for street photography, we should first review the goals of good street photography and why focus is important.
Contents
Goals of Good Street Photography
Many photographers will tell you that street photography is among the most challenging styles of photography. It takes courage, persistence, and a bit of luck to be in the right place at the right time to capture the most compelling shots. Before you learn about focus and other techniques, it’s important to understand the goals of good street photography. What sets the best street images apart from the so-so ones?
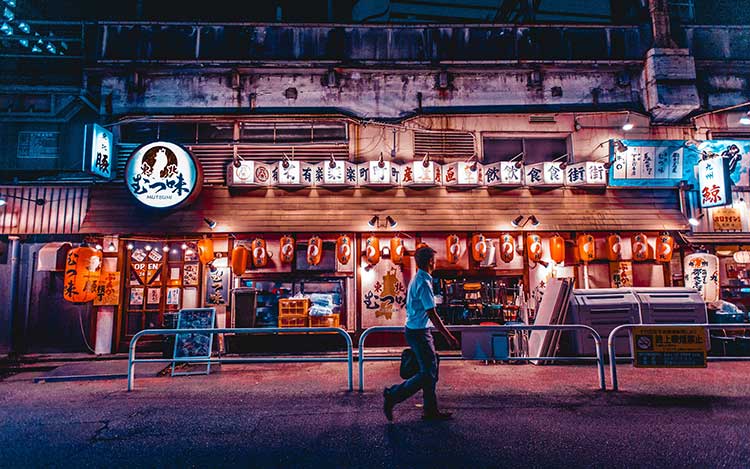
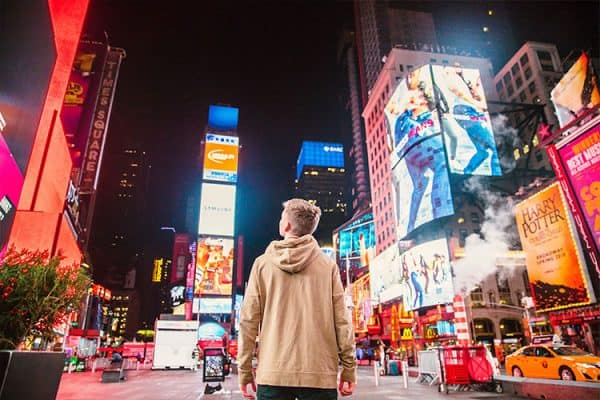
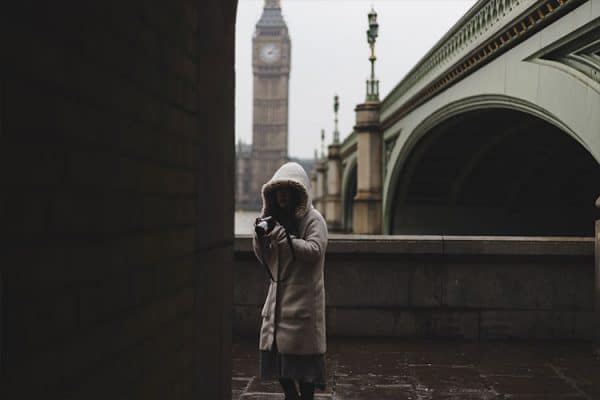
Goal 1: Capture photos of people, our surroundings, and the day-to-day ‘real life’. Street photography is designed to tell the story of everyday life and human nature. It captures random, one-of-a-kind encounters with people or our surroundings that say something about who we are as humans. Good street photography doesn’t always need people as the subjects, but most images do.
Goal 2: Capture candid images. In most cases, what sets street photography apart from other forms like portraits and landscapes is that the images are candid rather than staged and formal. The images still follow some basic elements of composition but tend to be spontaneous and encounters of chance.
Goal 3: Focus on a clear subject. Street photography doesn’t just involve pointing your camera at any random person you encounter. Good street photos should have a clear subject (that is defined by following good rules of composition) and a story to tell. If the photo makes you ask questions or want to know more, then you’re on the right track.
That being said, one of the things that make street photography so unique (and challenging) is that it pushes the boundaries of the traditional rules of photography. Good street photography has some goals, but it also gives you the freedom to explore creatively. Choose harsh lighting, silhouettes of your subjects, or background elements that portrait or landscape photographers might consider distracting. Good street photographers push the envelope and bend the rules to capture the most compelling images.
Auto or Manual Focus for Street Photography?
Now that you know some of the goals of street photography, we can review the pros and cons of using auto vs. manual focus for your street photography images. There’s some considerations for both, which will require you to know your own camera and your own skill set.
About Auto-Focus
For beginning street photographers, we recommend starting in full autofocus mode with your DSLR camera. As you’re just getting started, autofocus allows you to concentrate on good composition while not having to worry about getting tack-sharp images. Here’s why:
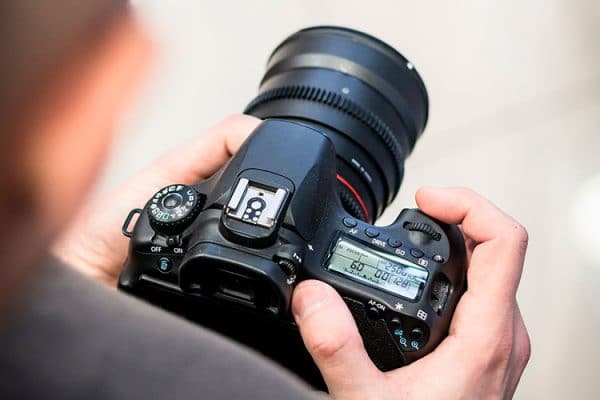
Most DSLR cameras have several auto-focus modes. These autofocus modes allow the camera to focus the subject automatically without you having to do anything. Your camera may have the option to set in these modes:
- AF-S (Single Servo) – In this mode, when the camera does it’s initial autofocus, it locks on a stationary location in the frame. If the subject moves slightly, the focus may not necessarily track with the subject and it may now be out of focus. This may not be the best setting for street photography, especially if your subject is moving across the frame.
- AF-C (Continuous Servo) – In this mode, the autofocus can adjust to a moving subject. Once ‘locked-on’ to the subject, it will keep that item in focus as it moves about the frame. Many beginning street photographers find this mode to be most useful as it gives them control over identifying the focal subject and keeping that subject in focus even if there’s movement.
- AF-A (Auto-Servo) In this mode, the camera itself is allowed to decide whether to use single or continuous focusing, depending on the subject and the lighting. The drawback of this mode is that the camera may struggle to focus in some conditions or may be slow to decide.
Why Choose Auto Focus
As mentioned above, there are some reasons why choosing autofocus mode for shooting street photography—especially for beginners—is the preferred mode. These are some of the reasons you should consider it for your next shoot:
- Autofocus mode is easier. If you’re just learning your DSLR or you’re used to a point-and-shoot world of cell phone cameras, the autofocus settings on your camera are easier to use. For most daytime conditions you can use the ‘set-it-and-forget-it’ mindset and get tack-sharp images time after time.
- Autofocus mode is faster. The scenes captured in street photography can change in an instant. Stopping to manually focus every single image is time-consuming and you may lose the story you were trying to capture.
- Autofocus is more accurate. Unless you’ve got lots of practice focusing a manual film camera, or you’ve spent a ton of time with your DSLR, you may not be as accurate at getting your camera to manually focus as the autofocus features will be. With the tiny viewfinder, you may think your image is in focus, only to find out later in post-processing that you missed the million dollar shot. Test this out by taking several photos of still and moving objects in both manual and autofocus. Blow them up on a computer monitor and look at whether you or your camera did a better job getting tack-sharp images.
About Manual Focus
As mentioned above, there are some advantages to using autofocus for beginning street photography. Yet there are some photographers that will swear by using manual focus for street images. Knowing how manual focus works on your camera and situations where manual focus may be better can help you decide the best mode for you.
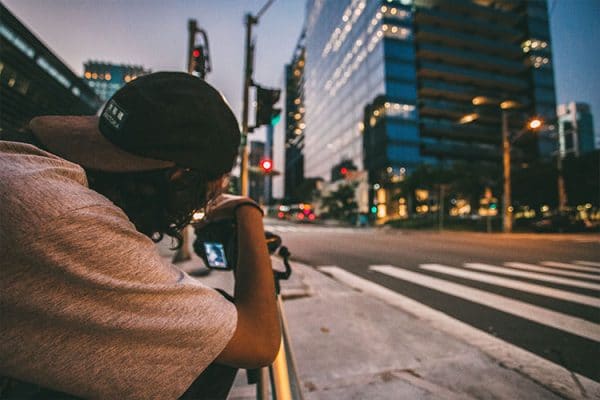
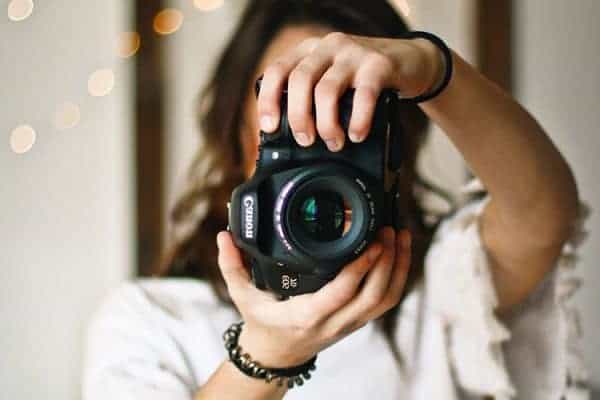
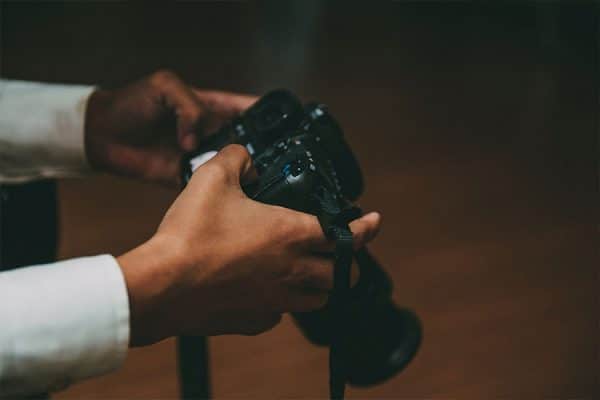
In manual focus, you physically manipulate the DSLR camera lens to focus on the image. To focus an image in manual mode, using your left hand (which is resting under the camera lens), pinch the focus ring on the lens and turn slightly to the left or right until the image is in focus. Manual focus must be done through the viewfinder. It’s nearly impossible to manually focus an image using the LCD screen on your camera body.
Why Choose Manual Focus
There are some street photographers that swear by shooting only in manual focus mode, mostly because of the control it allows you over your camera’s features. Ultimately it comes down to preference and skill in focusing the camera. However, there are some times where manual focus will almost always out-perform autofocus:
- Manual focus is better for shooting at night. The autofocus features on your camera require a certain amount of light to enter the sensor in order for it to correctly focus. While technology continues to improve in low light situations, you may find that the autofocus mode of your camera doesn’t function when shooting at night. Manual focus allows you to continue shooting in low-light or night settings. It may take a bit longer to set up accurate focus, but it’s likely to be less frustrating than a misfiring auto-focus.
- Manual focus allows for zone focusing. One popular technique used by professional street photographers is zone focusing. It involves setting the camera to a specific focal length so that all items at that specific distance or zone will be in sharp focus. Everything else will be slightly out of focus. If you know that all subjects will be about a sidewalk’s distance away, or you can get the hang of shooting from a specific distance away, zone focusing can be faster than autofocus once you learn how to use it. Zone focusing can only be used in manual focus. Autofocus modes don’t work for the technique.
- Manual focus is better for shooting from the hip. Similar to zone focusing, manual focus mode allows you to pre-set your focus and then practice some unique techniques like shooting from the hip. Rather than bringing your camera to your face, shooting from the hip means you take the photo with the camera lowered in front of you or to your side. It can offer a bit more discretion when taking street photos and change the viewpoint of the image.
- Manual focus is better for shooting through glass. If your street photography shots involve shooting from the street into a shop or restaurant window, you may find manual focus works better for accurately focusing on a subject behind glass. Your autofocus mode may be able to function similarly, but it may be faster to use manual focus.
Sum it Up: Auto or Manual Focus for Street Photography
To sum up the pros and cons listed above, when it comes to shooting in auto or manual focus for street photography, it may come down to preference and skill. If you’ve got a lot of experience with street photos or manual focusing a film camera, you may not find it a stretch to shoot in manual mode. For anyone that’s just beginning with a DSLR camera or anyone that’s just starting to experiment with street photography, it’s best to start in autofocus mode. It will help you concentrate on composition and capturing a compelling story rather than if your subject is tack-sharp.
Other Techniques and Camera Settings for Good Street Photography
Now that you know the differences between auto and manual focus modes for street photography, there are some other techniques and camera settings you’ll want to learn more about to help elevate your images:
- Good depth of field – While it’s not a gold-standard rule, street photography images have good depth of field. Generally, all points should be in focus from the close up subject to the farthest point in the distance. Know how to set your camera settings and shoot in aperture priority to help capture everything in the scene.
- Shutter speed – Since most of your subjects will be people—and people on the move— when shooting street photography it’s important to have a good grasp of shutter speed and how to freeze the motion of people. In general, you’ll need a setting of at least 1/100th for people at a walking pace, and faster speeds to freeze motion in a busy or hurried setting.
- Know how to blur motion – In contrast, you may decide that freezing motion is not the effect you desire. Learning how to effectively stop motion in some parts of the frame while creating an artistic blur in others is a classic technique of street photography.
- Keep ISO low as possible to reduce noise – Along with shutter speed and aperture, you’ll want to monitor your ISO settings and keep them as low as possible. Too high of an ISO and you risk noise or grainy appearance in parts of your image that’s difficult or impossible to correct in post-processing.
- Practice blending into your surroundings. Good street photographers know how to take images without making their subjects uncomfortable or in some cases making their subjects even aware they are being photographed. Wear neutral or dark colored clothes, try to position yourself in a non-conspicuous location, and avoid confrontation if someone does approach you. In most places it’s legal to take photos in public spaces, however, you’ll want to make sure you understand the laws and cultural practices in the places where you’re shooting.
- Know how your camera works – Of course, you want to know how your camera works. That’s important for any type of photography. With street photography though, it becomes especially important that you’re familiar with the settings and buttons on your camera. You need to be comfortable to shoot quickly, your subject may be on the move or the emotion you were trying to capture may be fleeting. Knowing how to adjust the settings at a moment’s notice is critical and requires practicing how to flip between settings quickly and effectively.
- Practice, Practice, Practice – In order to be a good street photographer, you simply have to take photos. Lots of them. Practice shooting un-interesting things, or shooting the same thing from as many different technical and creative aspects that you can think of. Practice shooting the same streetscape during different times of the day. Spend time with those images, learn what you like and don’t like to help develop your style. Then get back out there and shoot some more.
Equipment for the Best Street Photography
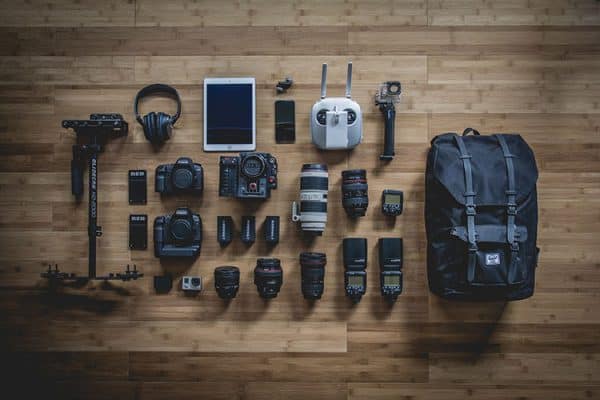
In general, less is more when it comes to street photography. The more gear your dragging around the more likely that others will notice you as a photographer and you’ll lose that sense of spontaneity and candidness behind your images. If you’re just getting started in street photography, make sure you have these basics:
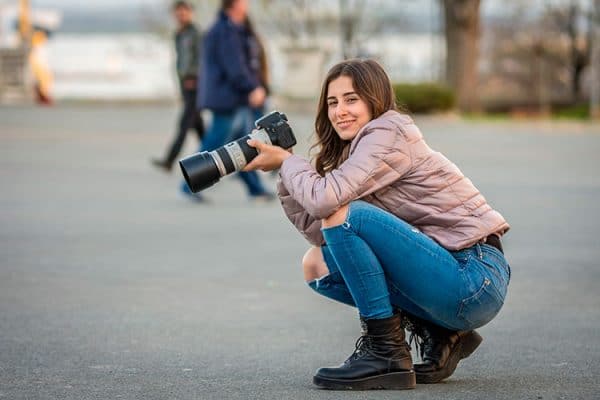
- Zoom and Prime Lenses – a beginner, you may want to start with a zoom lens rather than prime lenses. Similar to auto vs. manual focus debate above, the zoom lens will allow you to focus on composition over the technicals of getting the zoom just right. Eventually, the goal should be to learn enough about the type and distance you typically shoot street photos at so you can move to a few good quality prime lenses. Prime lenses tend to be smaller and may help you blend in more to your environment.
- Wide Angle Lens – Many professional street photographers will swear by a wide-angle lens since it allows you to capture more of the scene and street in one frame. They also force you to get closer to your subject and tend to be lighter than other lenses which are better for traveling.
- Wrist Strap – Many street photographers find that the manufacturer’s neck strap is an easy way to stand out from the crowd and make others around you avoid the camera. Having easy access to the camera (while still keeping it safe) is one reason to consider a wrist strap or a sling strap.
- Inconspicuous Camera Bag – If your subjects see you carrying a ton of camera equipment around in a large, bulky bag you’re apt to lose the candid nature of your shots. Choose a bag you can get your camera in and out of quickly that doesn’t necessarily look like a traditional camera bag.
- Extra batteries – There’s nothing worse than planning a day of shooting only to find your battery pack isn’t up for the job. Pack extra batteries anytime you shoot.
- A Smile – If you plan to take photos of strangers, you’ll want to make sure you’re always respectful and friendly. A smile can go along way to make someone more comfortable if you’re taking their photo and to thank someone for being the subject of your candid image.
Related Questions

What mode should a beginning DSLR photographer shoot street photos in?
There are advantages and disadvantages of shooting in all of the different modes your new DSLR camera came with for street photography. The mode you shoot photos in depends most on your experience with technical aspects of cameras outlined above and how carefully you want to plan out each photo.
If this is your first experience with a camera with interchangeable lenses, you may decide to shoot on auto for the first few sessions of street photography. This will give you a chance to get the feel of the camera body in your hands, learn about the settings and the sensitivity of the shutter. It’s only recommended that you shoot on auto until you get the basics down as the auto settings are likely to produce the lowest-quality images.
Then move on to shooting street photos in program. This allows you to adjust some aspects of the camera (ISO, white balance, flash, etc.). The camera will take these inputs and then automatically estimate the shutter speed and aperture necessary to take a good photo. It’s a good first step to branch into taking more control over your camera as you learn what a DSLR is capable of and work on the composition of your street photos.
When you’ve moved passed program mode, then consider aperture priority for street photos. It will give you even more control of the camera, but still, make sure you get good focus and exposure. Most beginning photographers think it’s necessary to go straight to manual mode like the ‘experts’ do. In fact, aperture priority is thought to be the most popular shooting mode for photographers. Manual has creative advantages, but it also requires adjusting the settings for every single image. You’ll learn a lot about what works and doesn’t work for taking photos, but you’ll make a lot of mistakes along the way in manual.
What lighting gear is best for outdoor photography?
If you’ve decided to take your portraits out of the studio and into ‘the wild’, it’s helpful to have an idea of what lighting equipment you’ll want to have on hand. Portability and versatility are important when shooting portraits outdoors. You’ll want to be prepared for as many lighting situations as possible.
To get the most out of your outdoor portrait photos a few of the tools you’ll want to have in your toolkit: a powerful Speedlite or similar flash option, umbrella or softbox light modifier, a UV filter, a back-up battery pack ( to handle the extra flash). If you’ve got a side-kick for a photo shoot, consider reflectors or a scrim.
What is the best time to take photos outside?
While light modifiers can enhance and diffuse the natural light available outdoors, experienced photographers find that there some times of day are better than others for taking outdoor photos. Called the “golden hour” it’s best to shoot outdoor portraits in the few hours right after sunrise or the few hours right before sunset. The golden hour is best for shooting because the sun is lower in the sky and tends to be softer.
Unfortunately, those are not always the best hours for photography subjects. Coming as close to the golden hour as possible, finding shade, and then using lighting modifiers like umbrellas and scrims can help ease the bright sunshine or flat light of a cloudy day.