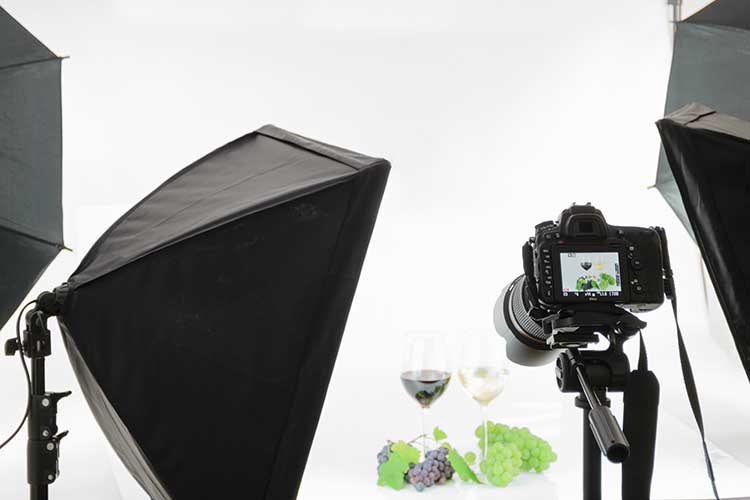
Portrait photographers know how important it is to have perfect control of lighting conditions. Light modifiers like softboxes and umbrellas are two tools that can mean the difference between a gallery-worthy shot and a lackluster image. Knowing the differences between a softbox and umbrella and how both are used to capture better photos can elevate your photography to the next level.
So what is the difference between a softbox and an umbrella? Both softboxes and umbrellas are light modifiers used primarily in portrait photography. However, because they have different features (e.g. size, shape, mobility) they offer different control of lighting. Understanding these differences can help you purchase the right one for your style and capture the most flattering portraits of your subjects.
Contents
Why should you use light modifiers?
Before we review the differences between a softbox and an umbrella, it’s best to first review why photographers choose to use light modifiers in the first place.
Occasionally we are lucky as photographers to stumble on the perfect lighting conditions. Soft, diffused natural light that is consistent for the entire length of a portrait session. But in reality, most photographers have to improvise with whatever light they are given at the time of your scheduled shoot. At that point, it is up to the photographer to use whatever strategies they can find to improve the lighting conditions.
That’s where light modifiers come in. They are a set of tools in a photographer’s toolbox to ‘modify’ or improve the existing light to be more flattering to the subject. They can bend light, diffuse light in ways that create the best conditions possible.
Softboxes and umbrellas are the two most popular types of light modifiers that are used to enhance current lighting conditions for better portraits.
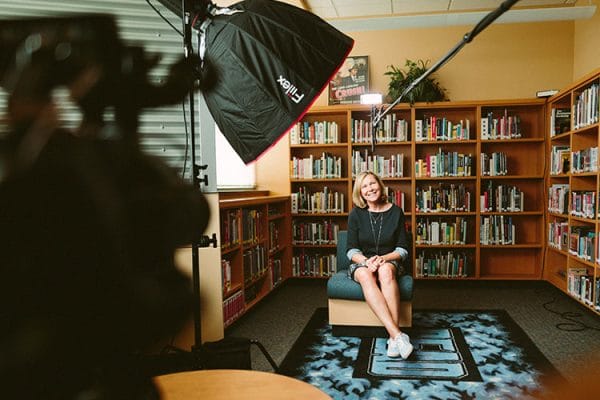
What is a softbox?
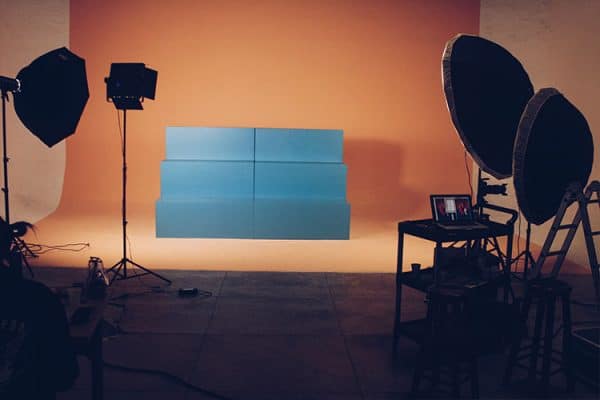
A softbox is a type of light modifier that’s popular among studio portrait photographers. Softboxes come in a variety of shapes and styles, all of which use a simulated light source (from a flash, studio strobe or other light sources) to emulate natural window light. The light produced from the softbox is directed outward in an even distribution that reduces shadows and closely resembles natural window light.
Types of softboxes
Models of softboxes differ slightly by manufacturer, however, in general, they are comprised of a reflective fabric lining (white or silver) attached to a light source. The fabric is stretched over a metal or plastic frame and stand allowing you to place them in and around the subject to generate a consistent diffused light. The back of the fabric lining is usually covered in black exterior to prevent light spill around the studio space.
Different Softbox Sizes
Softboxes come in a large range of sizes from small, portable ones to very large panel sized softboxes. The larger the softbox the softer the light. The smaller the softbox, the more carefully you can direct the light on a subject at close range. While certainly not a hard-and-fast rule, many photographers believe you should select the size of softbox that matches the size of your subject. If you are taking headshots, select something at least 18-24 inches. If you will primarily take full-body shots, you will need at least 48-56 inches either from one large softbox or multiple softboxes assembled together to create a range of diffused light.
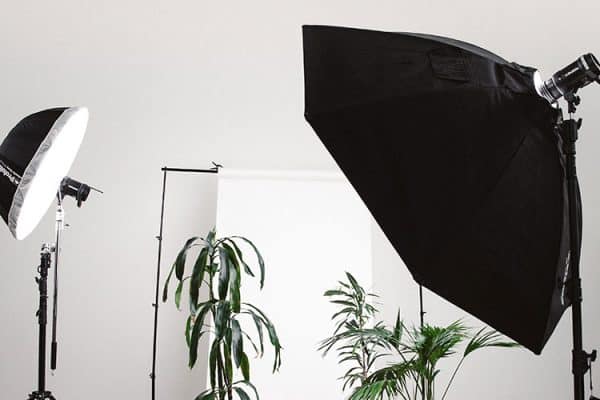
Different Softbox Shapes
Softboxes come in several different shapes including popular choices like rectangular, square, and octagonal. Less common are round and long, thin strips. Rectangle and square shapes are popular as they mimic the diffusion provided by a rectangular window. The other shapes do offer benefits though, especially at close range. They are commonly used in combination with other softboxes to create unique lighting conditions.
Different Interior Surfaces – As noted above, softboxes can be purchased with either silver or white interior surfaces. Both will effectively modify studio lighting to create outstanding portraits and most beginning photographers will find both superior to not using a light modifier at all. Some photographers report that silver interior linings create slightly more ‘snap’ or more contrast in finished images than white softboxes. Others find that the quality of the light differs only based on the format of the camera and the distance the subject is from the softbox.
All of these different softbox types will produce superior lighting effects in poor conditions than not using a light modifier at all. Many professional photographers have a small softbox, a mid-sized softbox, and a large rectangular one that can be used both horizontally and vertically depending on the subject.
Softbox with grid or diffusion panel – Some softboxes come with detachable components. These can be grids or diffusion panels. Grids are a honeycomb attachment that is either fabric or metal that attach to a softbox or light panel. In some situations, a bare softbox can be too harsh for the desired image, or a photographer may wish to illuminate a specific spot of an image. Grids block light from diffusing out of parts of the softbox and further allows the photographer to control the direction of the light on one specific spot of the subject. It’s a specialty effect that can add quite a bit of dimension to images.
It’s important to know that if you like the lighting that grids provide, consider purchasing a softbox with a grid right away. Retrofitting a softbox with a grid can be difficult as they don’t always come in standard sizing.
When should you use a softbox?
There are a variety of different situations where softboxes work well including different types of photography and to create different specialty lighting conditions. Below are some scenarios where you should consider using a softbox:
- For portrait photography. As noted above, softboxes are popular for studio portraits and wedding photography.
- For commercial product photography, especially jewelry and housewares where the shine of the object should stand out without glare.
- For rooms with colored walls and ceilings are good for softboxes because the light comes out at the subject and will not reflect the coloring of the walls. The softbox provides good light control in these situations.
- For silhouettes. Softboxes can be positioned behind the subject to create a silhouette lighting effect.
- To recreate a window. By using black electrical tape in a grid pattern over the front of the softbox, you can recreate a window effect when reflected off glass or the eyes of your subject.
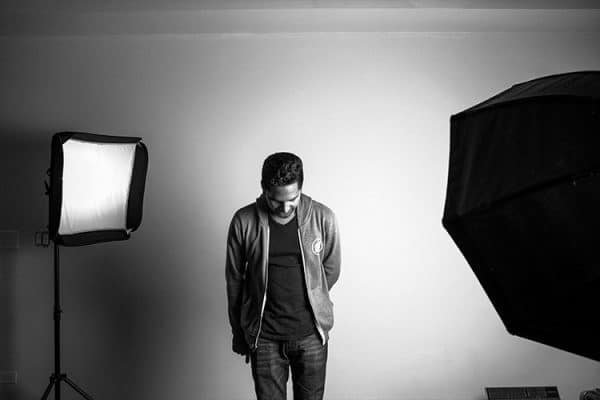
How do you use a softbox?
One of the reasons photographers love softboxes is how simple they are to set up and use to create the desired lighting effects. Softboxes can be set up nearly everywhere. Simply assemble according to the manufacturer’s instructions, turn on the lighting mechanism and set the softbox near your subject.
The quality of the reflection will depend on the size of your softbox and how close/far your subject is from the softbox. Try positioning your softbox first at a 45-degree angle from your subject and then begin moving it around a 180-degree axis around the subject until you reach the desired lighting effect.
While softboxes are popular among photographers, there are some drawbacks, particularly in their portability and cost. The other most popular light modifier, an umbrella, can address these issues while still providing good lighting control.
What is an umbrella?
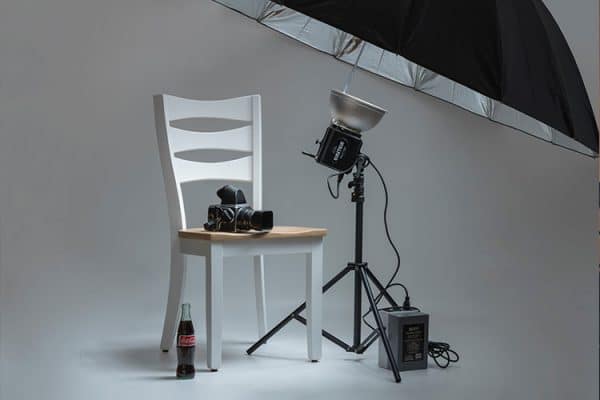
Shortly after photography emerged, so did using umbrellas as tools to reflect light back towards a subject. Photography umbrellas look very similar to your rainy-day umbrella with some enhancements to take beautiful portraits. Umbrellas are popular among photographers because of their portability and mobility. They can be used with many different types of light sources (e.g., sunlight, electronic flashes, strobes, continuous light sources).
Similar to softboxes, photography umbrellas come in different types, shapes, and sizes. It’s important to learn about the different options to help you select the type that will work best for you.
Types of Photography Umbrellas
Shoot-through umbrellas – Also known as translucent umbrellas, shoot-through umbrellas are among the most popular type of umbrellas on the market for beginners. They are inexpensive and create simple but effective lighting patterns for those new to flash photography.
Shoot-through umbrellas are most commonly used by placing the open umbrella in front of the flash or light source which is aimed directly at the center of the opened umbrella. The umbrellas are called ‘shoot through’ because the light will go through the umbrella onto the subject of the photo. When the light hits the translucent white surface it diffuses into a broad, soft natural light.
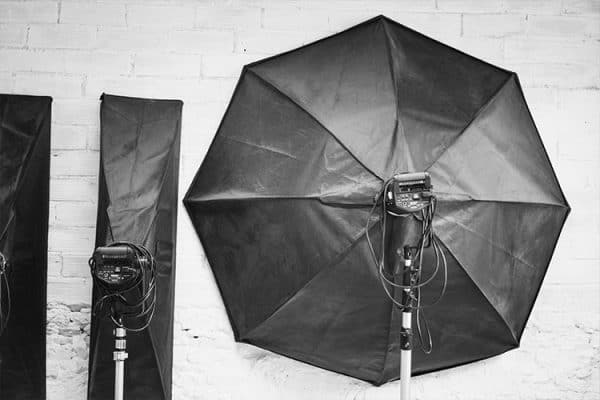
Reflective Umbrellas – Also known as silver reflective umbrellas, these create a wide pattern of light. Reflective umbrellas diffuse natural or artificial light source across a 180-degree span. The large lighting area created by reflective umbrellas makes them well-suited for lighting groups or large areas. These types of umbrellas can also be used at a greater distance away from the subjects than a shoot-through umbrella.
Reflective umbrellas generally come as a white or silver lining with a black backing. This is to control the amount of light spill and create greater diffusion. To use a reflective umbrella, the flash is set up facing away from the subject towards the umbrella which then reflects the light back towards the subjects. This is also known as “bouncing” the light.
Regular vs. Parabolic – Another consideration when purchasing your photography umbrella is the shape. Shoot-through and reflective umbrellas come in either regular or parabolic shapes. Regular umbrellas are exactly the same as a standard weather umbrella, with triangle panels that fold up on a central stem. Regular umbrellas diffuse light across an even, convex shape.
In contrast, parabolic umbrellas are typically larger and have a more rounded shape. They are also adjustable, allowing the photographer to vary how open or closed the umbrella is and better vary the amount and direction of the light.
When do you use an umbrella?
Just like softboxes, umbrellas can be used anytime the lighting conditions need to be modified to create softer, more natural light on a subject. There are some situations where umbrellas can be superior to softboxes:
- Beginning photographers may find umbrellas more affordable and easier to learn different lighting techniques.
- When traveling. Umbrellas are without a doubt easier to travel with and take out of the studio to shoot with. While it’s possible to travel with a softbox, the portability of umbrellas are a perk.
- Umbrellas are good for indoor photography, especially in rooms with white walls and white ceilings to achieve a softer glow.
Umbrellas vs. Softboxes: How to Choose
Since both umbrellas and softboxes are good choices for light modifiers, how do you decide which is best for your photography? When deciding which one to purchase, consider the following factors:
Ease of Set-Up – Both softboxes and umbrellas require some setup. Softboxes fold up for storage and require you to set up the stand and the frame. Umbrellas are easier to set up in that you pop it open like any other umbrella.
Light Control – Softboxes offer more photographers more control over the direction of the light towards the subject. There’s less spill than umbrellas which push light out to a wider space. One way that light control comes out is in the catch lights in the eyes of your subject. Umbrellas produce round catchlights whereas a softbox will produce a square catchlight.
Affordability – It can be difficult to compare the price of softboxes and umbrellas. For one, all light modifiers come in a variety of different price ranges from the top of the line expensive to cheap products that won’t hold up to frequent use. While small softboxes are similar in price to most umbrellas, the lighting effects that the two provide are very different. Large softboxes can be double or triple the price of umbrellas, but do not provide the same contrast that an umbrella does. If price is your only factor, choose the more affordable option of either a softbox or umbrella, learn how they work and how they fit into your photography style. Then invest in the more expensive option.
Portability & Storage – Without a doubt, umbrellas win out over softboxes when it comes to portability. Softboxes are larger and more difficult to carry along on active shoots outside the studio. When it comes to storage, many softboxes fold flat for easy storage. Umbrellas fold up along the shaft and are also very easy to store.
Weather – There is one drawback to both umbrellas and softboxes and that’s using them in less-than-ideal weather conditions. Already difficult shooting conditions can be made worse when a gust of wind blows over a flash or breaks an umbrella by flipping it inside-out. Both softboxes and umbrellas can be difficult to operate in wind and weather. In either case, you should always secure your lighting stands.
While these factors can help you choose between umbrellas and softboxes, in reality, both are good for photographers to know and understand their uses. If you have the option to keep both on hand, it can give you the most versatility to get the perfect lighting conditions no matter what the natural light is available to you.
Other light modifiers

While softboxes and umbrellas are the most popular types of light modifiers for portrait photography, there are several other options on the market to consider adding to your studio lighting toolkit.
Octabox – Somewhere along the line, a photographer decided that they’d like the best of what a softbox and umbrella both offer. The Octabox was born. The Octabox is shaped like an umbrella (to provide a large, broad span of light) with the softbox shape and set up (to provide the soft, diffused light). Octabox setups are often used for lighting large groups like at weddings or family reunions.
Scrim – Most professional portrait photographers have fashioned a make-shift scrim at some point in their careers. Scrims are just large pieces of light-diffusing fabric stretched over a frame. They’re easy to make large panels with and are especially useful to diffuse natural sunshine in a pinch.
Beauty Dish – Less popular among beginning photographers, you’re most likely to find the beauty dish on the set of a fashion shoot or makeup photography session. Beauty dishes are a large, metal bowl that attaches to a light source. There’s a second metal disk in the center of the dish that covers the flash and reflects the light into and out of the sides of the dish. Rather than diffusing light as a softbox or umbrella does, a beauty dish reflects the light creating more contrast and highlights.
Ring Light – It’s often easy to pick out portraits that use a ring light because of the popular “glowing” effect created by this light modifier. Attached to the front of the camera lens, ring lights create a circle of light around the subject. The ring casts a shadow directly behind the subject and a specific light catch in the subject’s eyes. A novelty item, be sure you understand how often you’ll use a ring light before you add it to your tool kit.
Related Questions

Can you use more than one light modifier?
Yes, lighting is all about experimentation. Professional photographers mix and match light modifiers to enhance the interest of the light in images all the time. If you have more than one light modifier available to you, experiment with different setups in the studio to create unique lighting effects. There’s no reason you can’t mix different sizes of softboxes together or mix different light modifiers like a softbox and beauty dish together to create a different look for your images. Moving a light modifier one or two feet to the left or right can dramatically change the mood and tone of an image. Experiment to determine what tools you like the best.
What are reflectors?
While there are lots of ways to invest money into studio lighting, there are a few things beyond your flash, lights, and light modifiers you should consider purchasing for your lighting equipment toolbox. One of those items is reflectors. Reflectors vary from the other light modifiers listed here in that they do not diffuse light but instead reflect all forms of light. They come in all sizes and are usually collapsible for easy storage. Reflectors also come in different fabrics (white, gold, silver) to change the quality of the light that’s reflected back on the subject.
What lighting gear is best for outdoor portraits?
If you’ve decided to take your portraits out of the studio and into ‘the wild’, it’s helpful to have an idea of what lighting equipment you’ll want to have on hand. Portability and versatility are important when shooting portraits outdoors. You’ll want to be prepared for as many lighting situations as possible.
To get the most out of your outdoor portrait photos a few of the tools you’ll want to have in your toolkit: a powerful Speedlite or similar flash option, umbrella or softbox light modifier, a UV filter, a back-up battery pack (to handle the extra flash). If you’ve got a side-kick for a photo shoot, consider reflectors or a scrim.
What is the best time to take photos outside?
While light modifiers can enhance and diffuse the natural light available outdoors, experienced photographers find that there some times of day are better than others for taking outdoor photos. Called the “golden hour” it’s best to shoot outdoor portraits in the few hours right after sunrise or the few hours right before sunset. The golden hour is best for shooting because the sun is lower in the sky and tends to be softer.
Unfortunately, those are not always the best hours for photography subjects. Coming as close to the golden hour as possible, finding shade, and then using lighting modifiers like umbrellas and scrims can help ease the bright sunshine or flat light of a cloudy day.