Contents
“Why are my photos blurry?”
It’s one of the most commonly searched for topic on photography websites.
It’s also one of the most frustrating issues for beginners.
In all honesty, there’s not much worse than sitting down to edit a photo session only to find every image is slightly blurry or out of focus.
Thankfully, there are some easy tips and tricks to help you fix a blurry picture and prevent camera blur in the first place.
What are the best ways to fix a blurry picture?
There aren’t a whole lot of ways to fix blurry images after the photo has been taken, but there are some things you can do in post-processing that can help.
Using correct camera settings, proper camera holding technique and sound equipment to prevent blurry photos are always best, in order to avoid blurry photos.
The methods outlined below are a complete step-by-step guide to not only shooting a tack-sharp image from the get-go but also a guide to fixing blurry pictures in photo editing software like Lightroom or Photoshop.
What causes blurry pictures?

There are three common reasons photos come out blurry.
Either the subject in the picture moved, the camera moved, or the subject wasn’t in focus, to begin with.
Although they seem like simple problems, they can cause big headaches in your images.
Knowing what causes subject movement, camera movement, or issues with focus is the first step to addressing your blurry photos.
How Subject Movement Causes Blurry Photos
The shutter speed is too slow.
The first problem to address in blurry photos is subject movement.
It’s the #1 cause of blurred images, and it happens because your camera’s shutter speed was set too slow to capture any movement crisply.
Shutter speed is the amount of time your shutter is opened, and the camera sensor is exposed to light.
While you might think you can hold perfectly still, and you might have told your subject to keep still, your camera needs to be told the shutter speed or how long to keep the shutter open.
If you choose too long of shutter speed, a moving subject will appear blurry in the photo.
The ISO is set incorrectly.
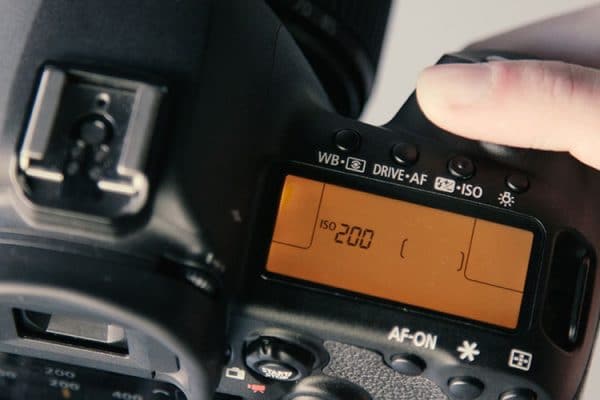
If you’re shooting with proper shutter speed but still having issues, ISO may also be the culprit causing your images to blur.
ISO stands for International Organization of Standardization and is a setting on your camera that changes the light sensitivity of the camera sensor.
The higher the ISO, the more light-sensitive your camera becomes.
However, as the ISO value moves higher, so does the probability of blur or loss of detail in the images.
Higher ISO values also introduce more ‘noise’ or grain into the photo. This can reduce the image quality just as much as blur.
How Camera Movement Causes Blurry Photos
If it’s not related to shutter speed, another option is that the camera moved while the shutter was firing.
Also known as camera shake, moving the camera after the shutter is depressed is a sure-fire way to blur a camera.
Blur could be caused by large movements, like moving the camera closer or farther away from your eye while shooting.
It could be caused by the slightest movement of the finger while pressing the shutter.
It could also be caused by instability in the environment, like riding in a vehicle or wind.
Knowing the best gear and best way to hold your camera (see below) are reliable ways to reduce blur caused by camera movement.
How Improper Focus Causes Blurry Photos

Although it appears differently than subject movement or camera movement, improper focus can also cause an image to appear blurry.
Out of focus blur occurs when the photographer manually focused incorrectly or when the camera’s autofocus settings did not focus on the correct item in the scene.
With out-of-focus blur, parts of an image may be tack-sharp while others are blurry or with the wrong depth of field.
The worst part about out of focus blur is that often times it’s challenging to detect on the tiny LCD viewfinder screen on your DSLR.
Not until later, when the images are blown up on a larger screen does it become apparent that the subject is not in tack-sharp focus.
Knowing how to configure your autofocus settings properly and how to make sure the subject is the focal point of the image are both ways to prevent blurry photos in the first place.
Other Things That Cause Blurry Photos
If you’ve checked all the boxes above and are still having issues with blurry images, try these two other things that are known to cause camera blur:
Poor Lens Filter Performance
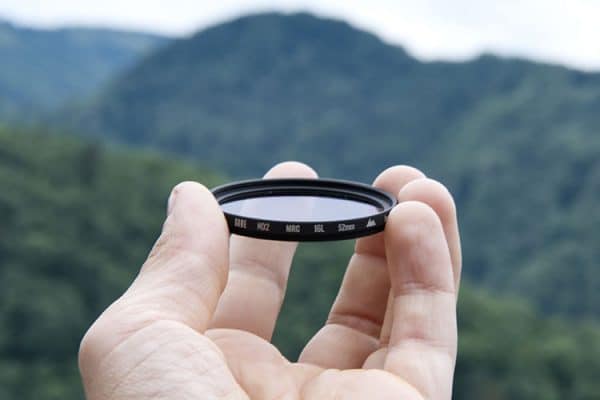
While attachable lens filters are designed to take tack-sharp photos, it is possible that the type or quality of the lens filter may be causing blur in your images.
Some filters like UV filters are known to degrade image quality, but it’s slight and most often not noticeable by an untrained eye.
However, it is possible that the lens filter may be dirty or damaged, causing issues with blur.
It’s good to occasionally review the performance of your lens filters to ensure that they continue to produce tack-sharp images.
Dirt or Debris On the Lens
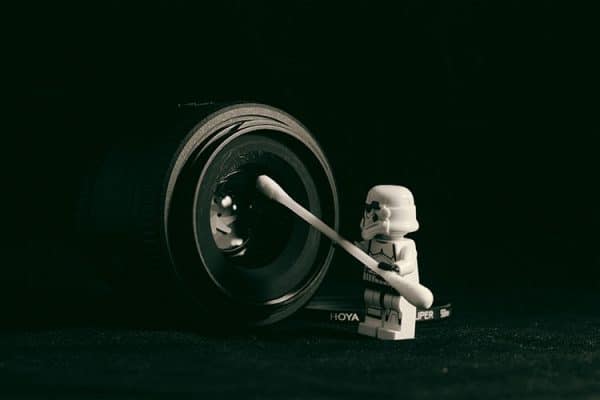
It’s also possible that the blur you’re seeing in your images is not related to the camera sensor or camera movement, but instead associated with debris, dust, or finger smudges on your lens.
If you continue to see odd blurry shapes or specks in your images, turn your camera around and check out the surface of the glass.
Better yet, get in the habit of cleaning your lenses with a quality lens cleaning kit after every shoot.
Then you’ll always be ready to take tack-sharp images whenever you take your camera out of the bag.
How to Fix a Blurry Picture – A Complete Guide to Prevention Strategies
The Best Camera Settings to Avoid Blurry Pictures
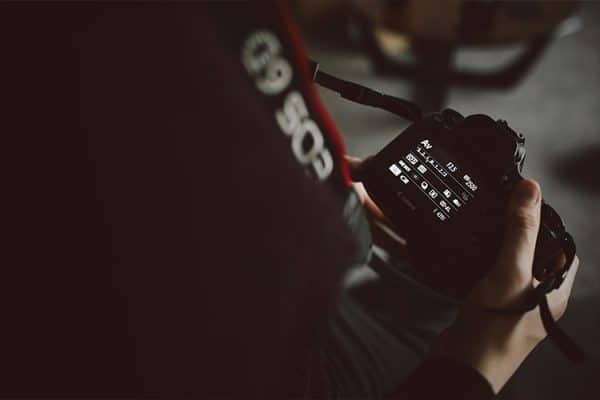
Preventing blurry photos begins with configuring your camera with the right settings.
Knowing these six strategies to configure your camera will help avoid subject movement and camera movement that can both cause issues later on.
- Shoot in RAW format.
Before you even begin to shoot a single photo, you’ll want to configure your camera to be shooting in RAW or RAW + JPEG mode.RAW files give you the maximum recorded detail and allow you more control in post-processing to edit your photos.Even though it’s challenging to correct blurry images in post-processing, the best chance you’ll have is by shooting in RAW format. - Calculate the right minimum shutter speed to freeze movement.
The most important setting to freeze the movement of the subject based on the lighting conditions is the shutter speed.Many beginning photographers are unaware that there’s a simple formula that can help you determine where to start when configuring your shutter speed.
The general rule of thumb for crop frame and mirrorless cameras is to choose a shutter speed faster than the maximum focal length of your lens times two.
For a 50 mm lens, shoot at least 1/100th. For a 200 mm lens, shoot at least 1/400th or faster.
For full-frame cameras, just choose a shutter speed faster than the maximum focal length of your lens.
The formulas:
Crop sensor/mirrorless cameras: Minimum Shutter Speed (sec) = 1 / Focal length (mm) X 2
Full frame cameras: Minimum Shutter Speed (sec) = 1 / Focal length (mm)
It’s important to note that this is the minimum shutter speed required for your lens.
Increasing the shutter speed beyond the minimum may be necessary depending on the lighting and the quality of your lens.
This calculation should at least give you a starting place to begin.
- Choose the lowest ISO possible given the lighting conditions.
As mentioned above, as ISO values move higher, so does the probability of blur or loss of detail in your images. Higher ISO values introduce noise and can give images a soft, blurry appearance. The smaller the camera sensor, the more challenges you’ll have shooting with higher ISO values. As always, be sure to choose the lowest possible ISO value given the lighting conditions to avoid noise-related blur. - Set the autofocus modes correctly.
If you’ve got your ISO and shutter speed configured, another option to ensure your camera is set correctly is to check the autofocus modes. Most DSLR cameras on the market will have two to three methods of autofocus. Some modes are better for portraits or landscapes where the subject is not likely to move. Others are better for when the subject is moving quickly across the frame, like in sports and wildlife photography. These settings are meant to be dynamic and failing to change them based on your scene could result in blurry or out of focus items in your frame. - Use image stabilization settings.
One of the top features that camera manufacturers use to sell cameras is image stabilization technology. When turned on, it compensates for camera shake from your own hand movements. Image stabilization is either built-in or can be manual turned on and off. It’s especially helpful when you’re unable to use the best shutter speed or ISO because of unique lighting conditions (e.g., low light without a flash.) If you do use image stabilization, make sure that you turn it off anytime you use a tripod. Your camera will attempt to compensate for camera shake that doesn’t exist when on a tripod. In some cases, it can actually add noise to your image. - Shoot in burst mode.
One final strategy to configure your camera to avoid camera blur is to shoot in burst mode. Burst mode takes multiple photos in succession each time the shutter is fired. The philosophy is that by taking numerous pictures of the same scene, at least one is more likely to be in focus. If the first image in the series is blurry from your hand movements while the shutter fired, it’s possible that the last photo in the series will not have the same camera blur. The same applies to a subject in motion. By taking multiple images in rapid succession, it increases the likelihood that at least one will be a tack-sharp photo.
The Best Way To Hold Your Camera to Avoid Blurry Pictures
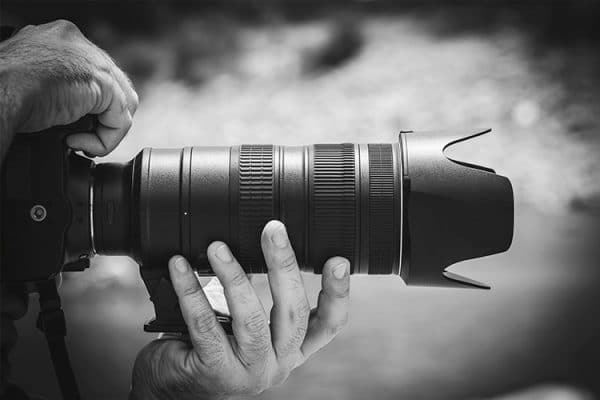
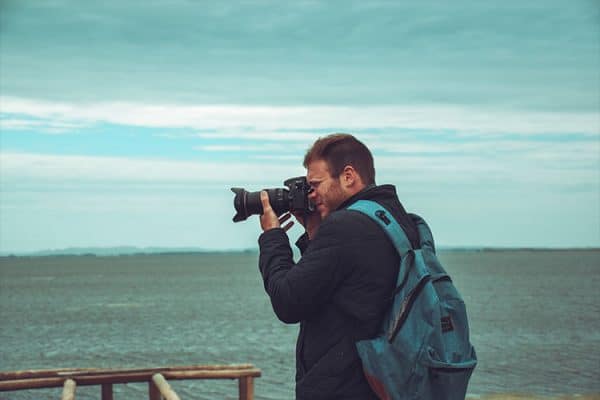
Many beginner photographers are surprised to learn that there is a correct and incorrect way to hold your camera.
If you’re frustrated with shaky focus and blurry photos, it could be worth stepping back and checking out your posture and if you’re holding your camera correctly.
Greater stability in your stance will increase the sharpness of your photos and allow you to shoot with more success at higher ISOs or slower shutter speeds.
Follow these steps to hold a camera properly:
- Stand with your feet shoulder-distance apart and firmly planted.
- Place your left hand under the lens. Many beginners want to place the left hand on the side of the lens, which is not as sturdy. Use a firm grip with fingers spread wide, attempting to create a ‘table’ to stabilize the lens.
- Next, hold the camera with the right hand with enough pressure that the viewfinder presses slightly against your forehead or eyebrow. It doesn’t need to be crushing or painful, but it should be held with enough tension to that the camera rests still against your face.
- Keep your elbows tucked in and upper arms tight against your chest.
- Hold your breath or exhale before you release the shutter.
- Press the shutter down completely and hold it until the camera is completely finished taking the photo. Some beginners find themselves pressing the shutter release with a ‘tapping’ motion, pressing and immediately lifting your finger back up. The extra finger movement can cause additional camera blur, so, instead, hold your finger down until the shutter has been fully deployed.
- Finally, it can be helpful to evaluate your camera grip by watching yourself shoot photos in a mirror or having a friend take a picture of you while you use your camera. Evaluate if there are ways you can be holding the camera steadier to reduce the amount of camera blur.
The Best Camera Gear to Avoid Blurry Pictures
While spending money on better gear is not always the solution to fixing camera issues, when it comes to addressing blurry photos, you may want to consider investing in these three items for your camera bag.
When used in combination with the right camera settings and good posture, you’ll have the best chance of crisp, sharp images every time.
Use a sturdy tripod
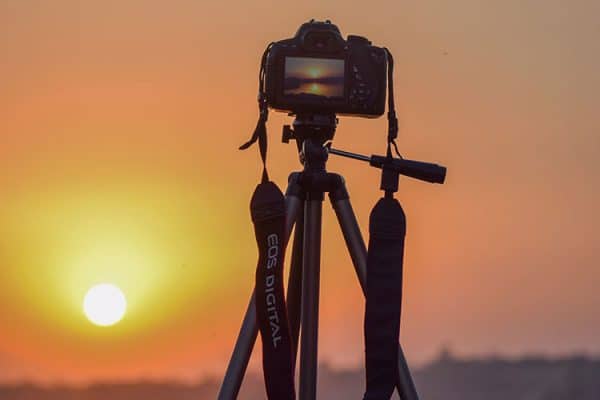 A sturdy tripod is a must-have for every photographer’s toolkit.
Tripods are one of the best ways to reduce the blur in images caused by camera movement.
They’re essential in low-light conditions or indoors when it’s best to shoot in the lowest ISO setting possible.
Tripods come in a variety of different sizes and prices.
You’ll want to purchase one that’s made out of quality materials and is rated to hold the total weight of your camera body and largest lens.
Even if you don’t have a tripod available to you (street photography, wildlife photography), if there’s an option to create a make-shift tripod for more stabilization, do so.
Use the side of a vehicle, a table, or a window ledge to create more stability.
You can also focus the subject, set the delay timer, and hold the camera steady against a wall to create more stability in a pinch.
One final note about using a tripod.
As mentioned above, whenever you use a tripod, it’s essential to turn off the image stabilization technology built into your camera.
When using a tripod with image stabilization, the camera has difficulty with the absence of movement.
It can actually create a feedback loop which creates movement in the camera sensor and subsequently, adds the blurriness you were trying to prevent.
Try a Shutter Remote
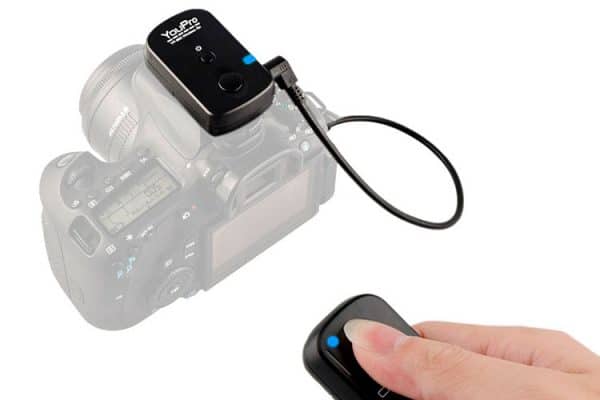
Although they can be listed under many names including wireless triggers, shutter cables, remote triggers, wireless shutter releases, wireless shutter remotes all serve one purpose: to fire the shutter without having to touch the camera.
Even if you use a tripod, there’s still a chance for slight camera movements when you deploy the shutter.
However, by installing a remote trigger or shutter release, you can deploy it without even touching the camera.
Wireless shutter remotes are especially helpful in long exposure or night photography where any amount of camera blur can ruin a shot.
Take advantage of wireless shutter releases and remote-controlled triggers for the maximum chance at tack sharp images.
Purchase High Quality & High-Speed Lenses
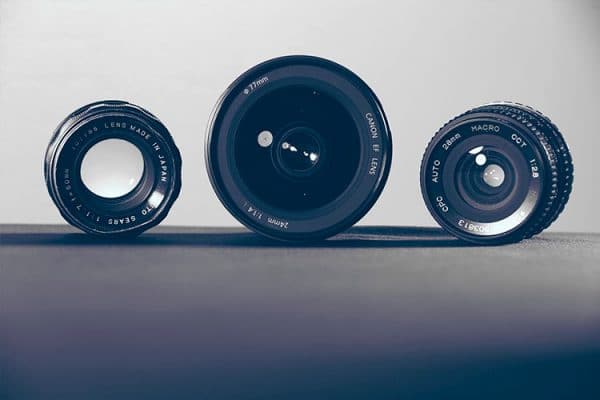
One final note about camera gear that can help address blurry photos includes purchasing a higher quality or a higher speed lens.
While it’s more likely that camera settings and your posture are to blame for blurry images, lens quality can come into play with some make and model lenses.
Some lenses are just built from better materials than others, and some lenses are faster (prime lenses) which makes them 100% crystal clear at specific distances.
How to Fix a Blurry Picture Using Editing Software
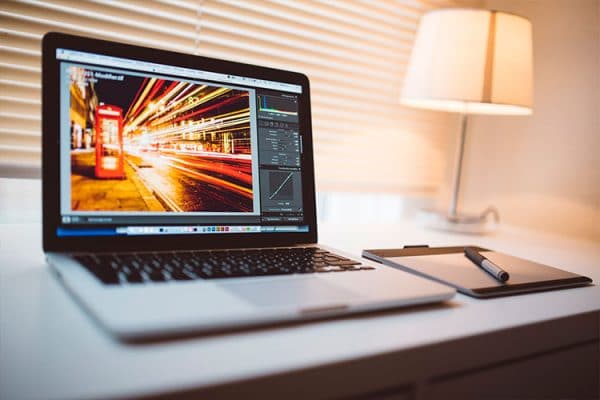
Before anyone gives you tips on fixing blurry photos in post-processing, it’s essential also to provide you with a disclaimer.
A blurry photo will always be blurred.
Editing software can help disguise the blur, but there’s no way to remove the blur once it’s there.
Unlike overexposure or noise, which can be more easily corrected with software, an out of focus subject can’t be fixed on the computer.
The same applies to subject movement or camera movement.
The only options are to help the viewer look at other areas of the image and avoid looking at the areas that are not tack-sharp.
Directing the attention away from the blur, or introducing a bit of noise to help cover up the blur are the primary strategies for fixing blurry photos once they’ve been taken.
So although there are tips to fix blurry images below for Photoshop and Lightroom, with 100% certainty, it’s better to learn to take tack-sharp photos in the first place.
How to Fix a Blurry Picture in Photoshop
Photoshop uses a shake reduction tool to address blurry photos.
The technology is designed to reduce image blur caused by camera motion (although it can sometimes also address subject movement).
The tool works by identifying areas of blur in an image and then extrapolating information about the type of movement from the image to correct it.
Photoshop can make corrections to linear motion, arc-shaped motion, zigzag motion, or rotational motion.
To find the camera shake reduction tool, open the image. Select: Filter > Sharpen > Shake Reduction.
Photoshop will then correct the entire image and display a corrected image in the dialog box.
It’s important to note that when using this technique, Photoshop will select the areas to sharpen and address them all the same.
Doing so also increases image contrast and image noise.
Only sharpen as much as you need or use masks to sharpen areas of your image selectively.
How to Fix a Blurry Picture in Lightroom

Fixing blurry images in Lightroom is a similar process as in Photoshop. Lightroom presets for sharpening images can be found in both the Print Module and the Develop Module.
Editing in the Print Module is meant only for the final output image. It’s more of a ‘touch-up’ just as you complete the final image.
To do significant sharpening, enter the Develop Module and open the detail panel.
Using the sliders, adjust the sharpening sliders, including the amount, radius, detail, and masking slider.
The amount slider determines the magnitude of the sharpening to the image.
Radius determines how detailed the image is (e.g., small details in landscapes vs. large radius details in food photography).
The detail slider will adjust how much detail will be left in the edges of an image.
Higher values will increase the detail, lower values will remove blurriness.
A Note about Pre-Sets for Photoshop and Lightroom.
A simple Google search will reveal that it’s possible to purchase ‘sharpening’ presents for both Lightroom and Photoshop.
These presets are marketed to photographers as an easy solution to clean up all of your images at once and apply consistent editing across images, so you spend less time in editing.
While it’s possible to edit pictures in this way, it’s not recommended.
Every single image is different, and using a standard blur reduction preset is not likely to address all the issues in each image.
You’re likely to need to go back in and edit images anyway after the presets are applied.
Given how difficult it is to correct camera blur, it’s best to avoid paying for presets promising to fix it automatically.
How to Fix a Blurry Picture Without Photoshop or Lightroom

While ultimately software platforms like Photoshop and Lightroom offer the highest quality and most options when it comes to editing tools, it is possible to use free software or the photo editing software that came with your camera or computer to edit blurry photos.
Some software packages can be downloaded free from the web that target blurry images if your basic software package does not.
Finally, there are several iPhone and Android apps currently available that offer the technology to reduce blur in images.
It’s not the easiest to edit on a small screen, and it’s not likely to offer the same quality as other software options, it is possible to use an app-based option to make a picture less blurry.
Other Editing Tips
If you intend to use editing software to fix a blurry image, here are some additional tips that will help increase the chances your image will not be significantly distorted during the editing process:
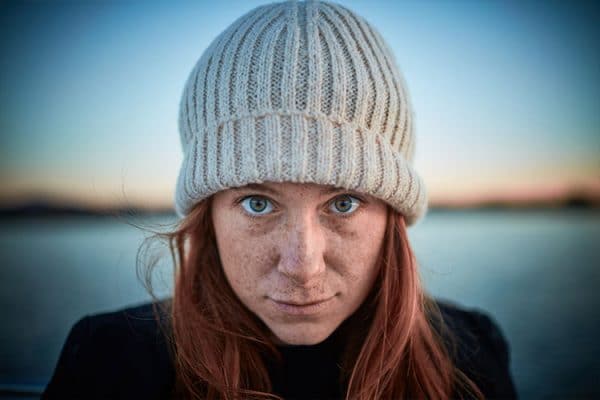
- Sharpen only where you want the eye to go.
 As a reminder, try to focus the eye away from the blurry areas of the image. Direct it to an area of the image that’s easier to correct. For people and wildlife, direct the viewer to the eyes and face of the subject. For landscapes and street photography, try to lead the eye to an important focal point that tells the best story.
 - Sharpen the final image size you intend to use.
 Before you begin sharpening the image, determine what you intend to use the image for. The larger the image, the more difficult it will be to correct the file to something with high enough quality to be printed. Smaller files and files that are to be used on mobile devices are much easier to edit enough that the eye will not be as distracted by the blur.
 - Lower the sharpness of the entire image.
 It may seem counter-intuitive, but sometimes lowering the sharpness of the whole picture can actually improve the quality of the image. Introducing noise and blur in the image can distract the eye and help draw it to the best parts of the image rather than an isolated area of blurred movement.
Related Questions
Why is my viewfinder image blurry when I look through it, but the picture is clear?
Directly next to your eyepiece on a DSLR you’ll find a tiny dial called a diopter adjustment.
The diopter adjustment functions just like the lens adjustment on binoculars.
It’s designed to focus the image in the eyepiece based on the viewer’s nearsightedness or farsightedness.
It does nothing to the lens or camera sensor, it only impacts the view in your eyepiece.
Therefore, it’s possible for your eyepiece to appear blurry even though the image collected by the camera sensor is not.
If your vision is different than standard 20/20, you’ll want to adjust the diopter so that you can see correctly out of the eyepiece.
Simply set your camera on a table or tripod with an object a few feet away.
Autofocus your camera on the object. Then turn the diopter dial until the image is also focused in the eyepiece.
How do I intentionally add blur to my photos?
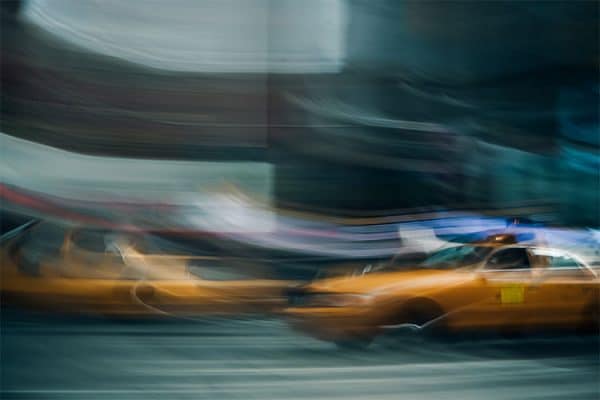
In some cases, introducing blur into photography can be a good thing.
Photographers can use motion to convey a feeling or tell a story about a particular scene.
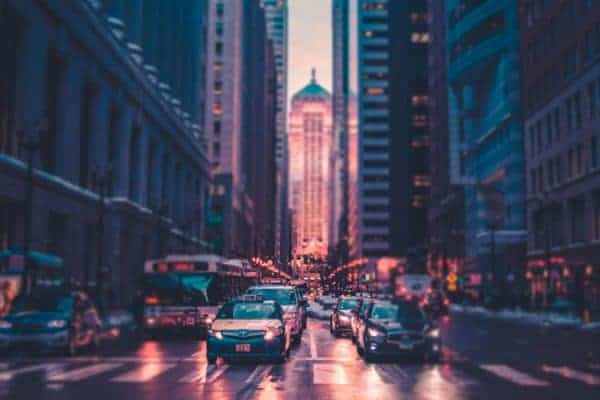
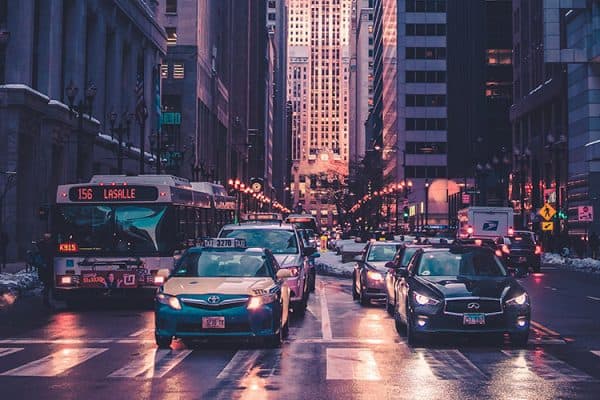
Street photographers or abstract photographers may want camera movement or subject movement as a composition element.
Classic portrait photography includes a tack-sharp subject with a blurry background.
Adding blur is also a great way to disguise an unwanted distraction in the background.
To introduce blur in your photos, try these techniques.
First is to use a prime lens.
This will allow you to keep your subject in focus but add camera movement in the background (e.g., a subject remains in tack-sharp focus on a sidewalk while the traffic is blurred behind them).
In these situations, you’ll want to shoot in aperture priority mode and the smallest f-value you can without blurring the subject.
It’s also possible to add in blur to your images in post-processing.
Both Photoshop and Lightroom have solutions to add creative blur to photos.
In Lightroom, use the Develop module and create a mask that only impacts the background of the image.
Then edit the Clarity and Sharpness settings to change the impact of the blur.
Photoshop has a variety of Blur filters, including Motion Blur, Path Blur, Gaussian Blur, and more.
Experiment with each of the different types and how they can change the qualities of your images.
How do you fix grainy photos?
Grain in photos can mean all types of issues, including color noise, color banding, or what’s known as luminescent noise.
Basically, grain is any reason the pixels in an image don’t look exactly the same as the scene.
There are two strategies in digital photography to deal with grain. First, know how to adjust your camera settings to avoid taking a grainy photo.
Second, use post-processing software to edit out grain or noise in images.
Both strategies are easy to learn and can help improve the quality and appearance of your photos